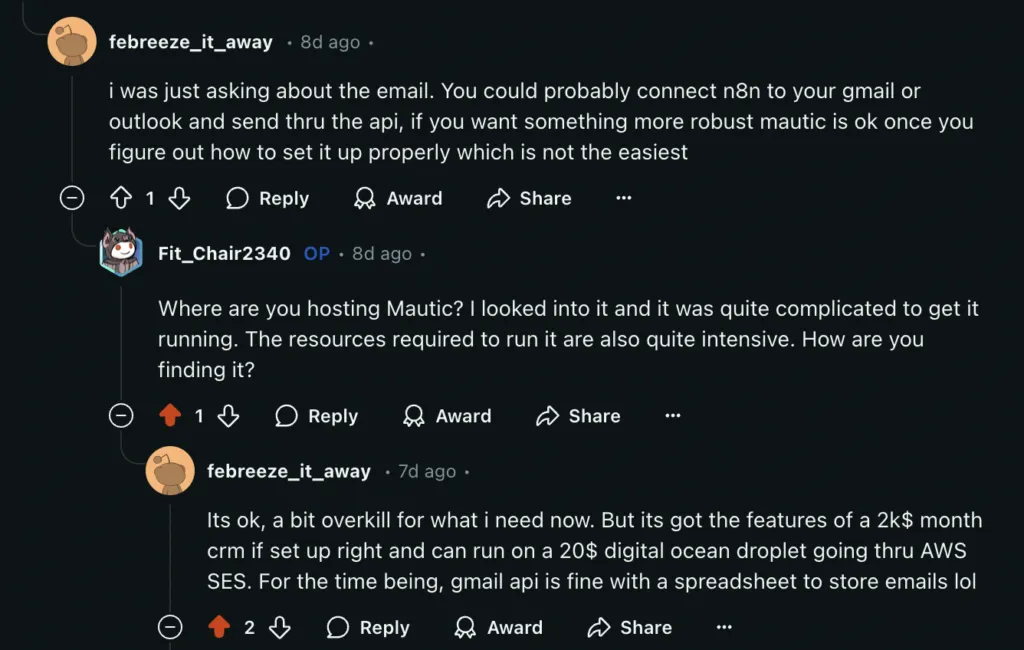
I use to spend $1000 on marketing automation tools. Mailchimp, optinmonster, hubspot and more. I discovered Mautic, a free open source self hosted marketing automation! The bad news is that I can’t find any one-click installations available, not even on pikapods. I knew this was going to be a challenge to install.
It took me a good 3 days to get this going and I hope you find this useful.
How it works
I found this tutorial by the Mautic team at the Mautic Conference Global 2024. It’s a high level video tutorial with a github repo for you to use. However, for people like me it was still missing alot of steps to get going. It’s not really a step by step, it assumes you know how alot of things work. After looking at every line of code, this is the high level of how it works:
-
It uses Github actions to run the code and deploy the code
-
The Github uses SSH to connect to your digital ocean account
-
Then it runs a bunch of scripts to create a server
-
Installs mautic on server using Docker Compose
That’s the high level of how it works.
Requirements
Here’s the secret, all you need to do is set these up:
Before we dive in, you’ll need:
-
A Digital Ocean account
-
A domain name
-
Github account
Setting up Github actions
-
The first step is to set up a Github account.
-
Then you need clone a copy for this github into your own project
-
You must clone a copy otherwise you can’t get the secrets

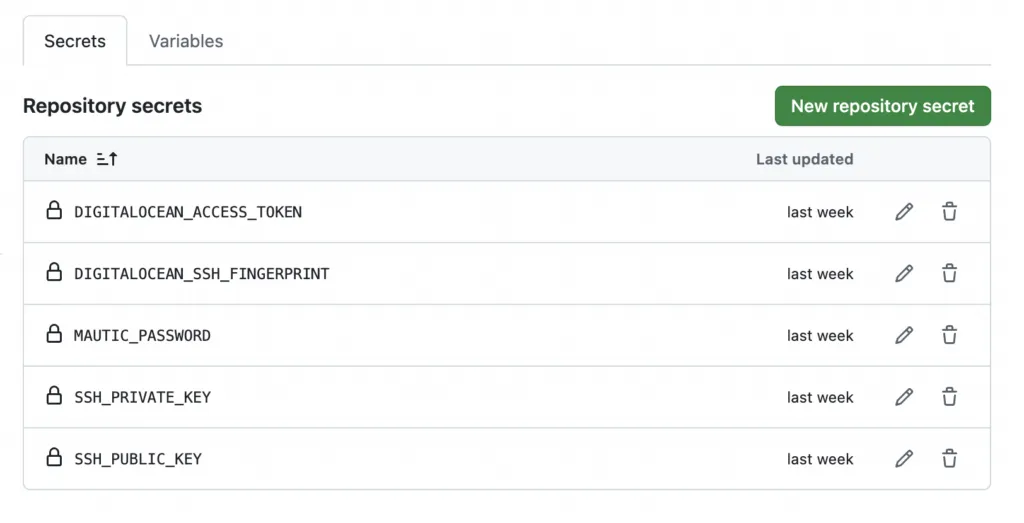
Go to settings ->Secrets and variables inside Github. You need to add the following:
-
SSH_PRIVATE_KEY -
DIGITALOCEAN_SSH_FINGERPRINT -
DIGITALOCEAN_ACCESS_TOKEN -
MAUTIC_PASSWORD
Setting Up Your Digital Ocean Account
Now head to digital ocean to set up your SSH key. The SSH key allows github to talk to digital ocean and run the scripts.
How to generate SSH key
Open terminal on your computer and enter this:
ssh-keygenWhen asked for these 2 questions, first question type in “Mautic” and second question just hit enter and skip it. I had issues when I entered a passphrase.
Generating public/private rsa key pair. Enter file in which to save the key (/Users/USER/.ssh/id_rsa):

Enter passphrase (empty for no passphrase): Enter same passphrase again:
Now you should have mautic and mautic.pub. These are your private and public keys.
Type in this command to check your keys:
ls -l ~/.ssh/ Run this to get your PUBLIC key:
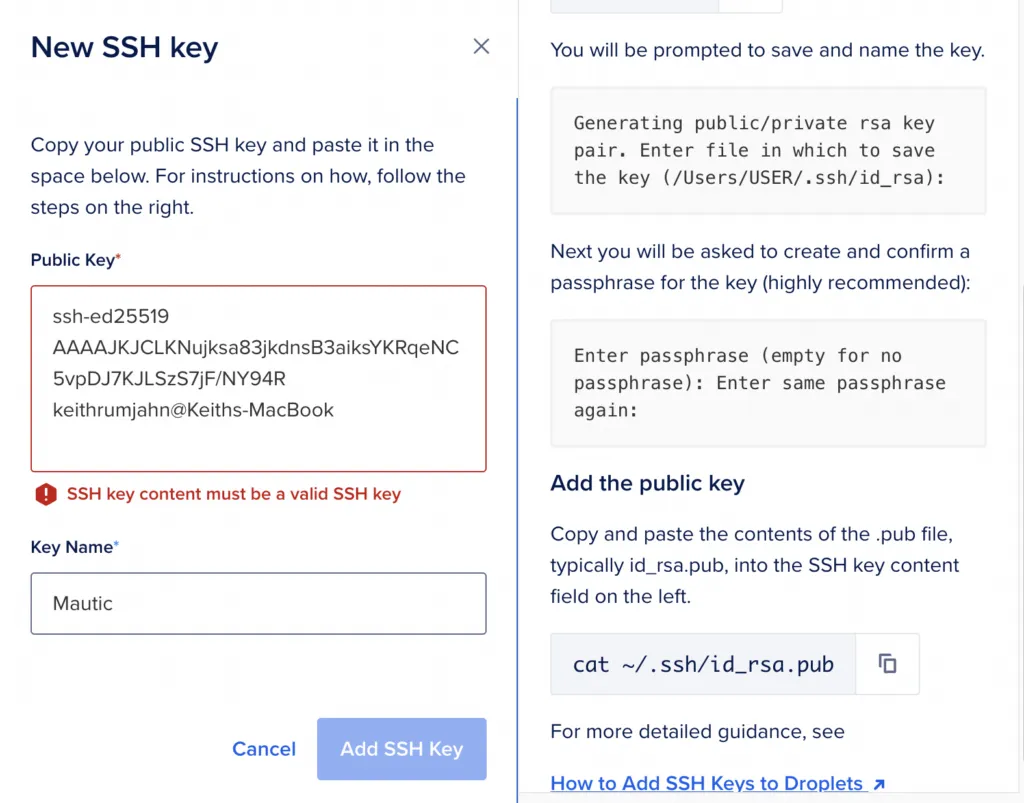
cat ~/.ssh/mautic.pubCopy and paste the output into Digital Ocean:
Setting up your secrets and variables
We need to set up these 4 variables:
-
SSH_PRIVATE_KEY -
DIGITALOCEAN_SSH_FINGERPRINT -
DIGITALOCEAN_ACCESS_TOKEN -
MAUTIC_PASSWORD
SSH Private key is easy. Just type this command:
cat ~/.ssh/mauticBasically, it’s the same as previous but there’s no .pub at the end. It should look like this:
-----BEGIN OPENSSH PRIVATE KEY-----

abcedfgh12321321321321jlksajdlkjaslkdnasbkslacas131843829983

khjkashdkjs89j32432lk4j3lk2590jklthisisafakekey

-----END OPENSSH PRIVATE KEY-----
Copy this into your Github SSH Private Key.
Mautic password is even easier, just make up a password. You’ll need this later to login once installed.
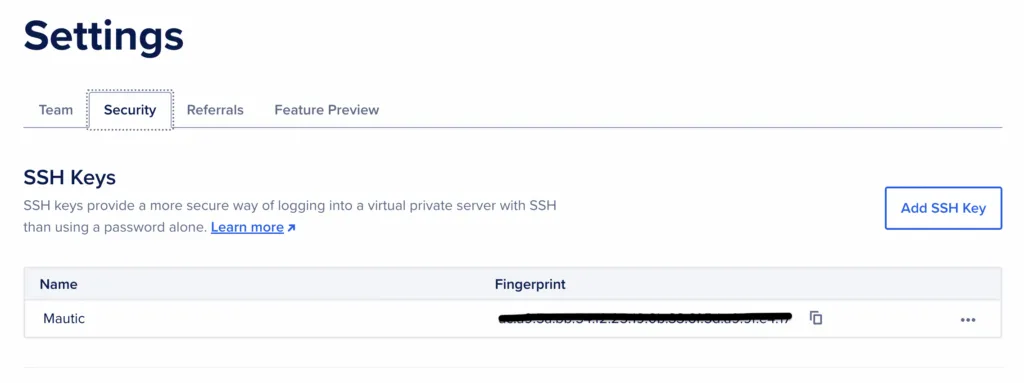
For DIGITALOCEAN_SSH_FINGERPRINT , go to Digital Ocean -> Settings -> Security. Your finger print should be on the right of your SSH key.
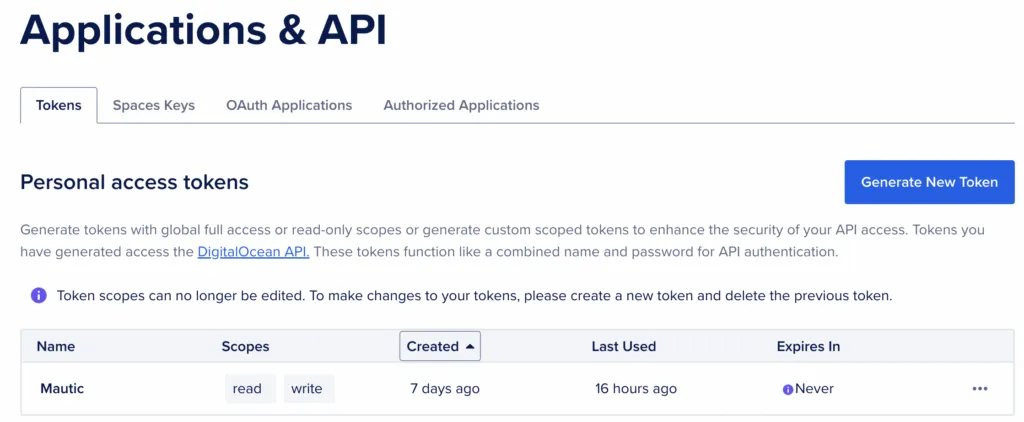
DIGITALOCEAN_ACCESS_TOKEN you’ll need to go to API -> Applications and API -> Generate token. Copy that into your Github secrets.
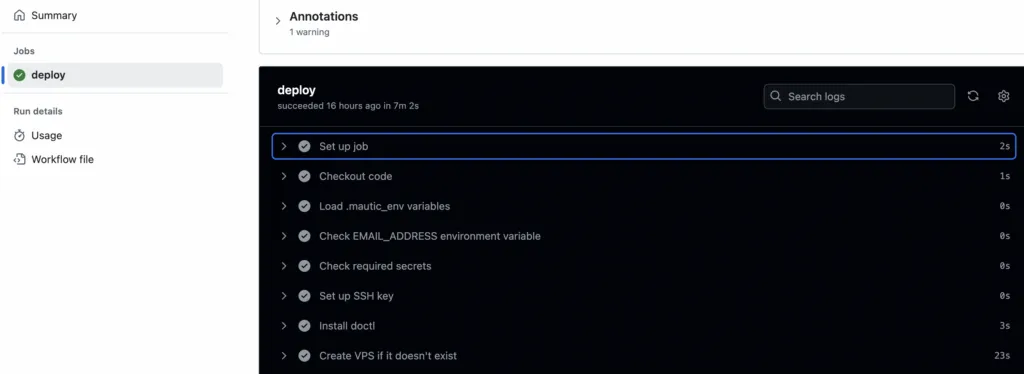
Running your Github Actions
Now you are ready to rock and roll! The github actions will automatically run deploy if you change any of the code and make a commit. I didn’t love that so I added a line of code to allow me to manually CLICK and run the deployment.
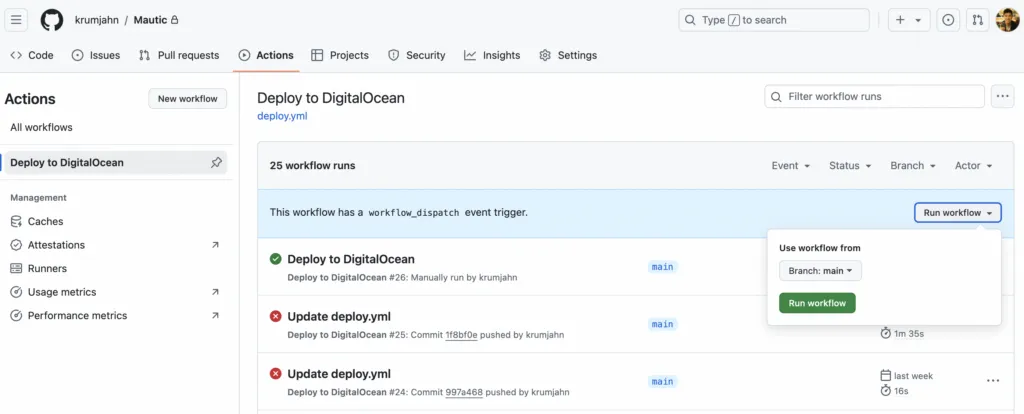
You should be able to see how the deployment is going and if it runs well, you’re up and running!