![5-Minute Setup: OpenRouter Community Node for n8n [Step-by-Step Tutorial]](/_astro/How-to-install-Openrouter-community-node-for-n8n.BnO0CgZL.jpg)
🔥 **Key Takeaways:**
🔥 To install the Openrouter Community Node for n8n, you need to have n8n version 1.0 or higher, Node.js 16 or later, and an Openrouter API key.
🔥 After installing the node, you need to add environment variables to your n8n setup and restart the application to load the new node.
🔥 To configure the Openrouter node, you need to select the model, temperature control, and max tokens, and you can test your setup with a simple workflow and test prompts.
I love using Openrouter because it allows me to use free LLMs to save money. The problem is, there is no official node for openrouter in n8n. Which means I need to make an http request node and write custom code to call the API. Well, a reader left me a comment and said there’s a community node.
It looks like 1 month ago someone wrote a community node!
What are community nodes?
Community nodes are nodes that are not officially endorsed. You need to install it yourself and from my understanding, you can only install community notes if you self host. They’re not 100% safe, so you need to run the risk of installing them yourselves.
Prerequisites
You’ll need:
-
n8n version 1.0 or higher
-
Node.js 16 or later
-
An Openrouter API key
I learned this the hard way - skipping these requirements leads to frustrating errors. Trust me, double-check these before starting.
Installation Process
The easiest and best way is to do it through the UI dashboard:
-
Open your n8n instance
-
Go to “Settings” > “Community Nodes”
-
Select “Install”
-
Enter
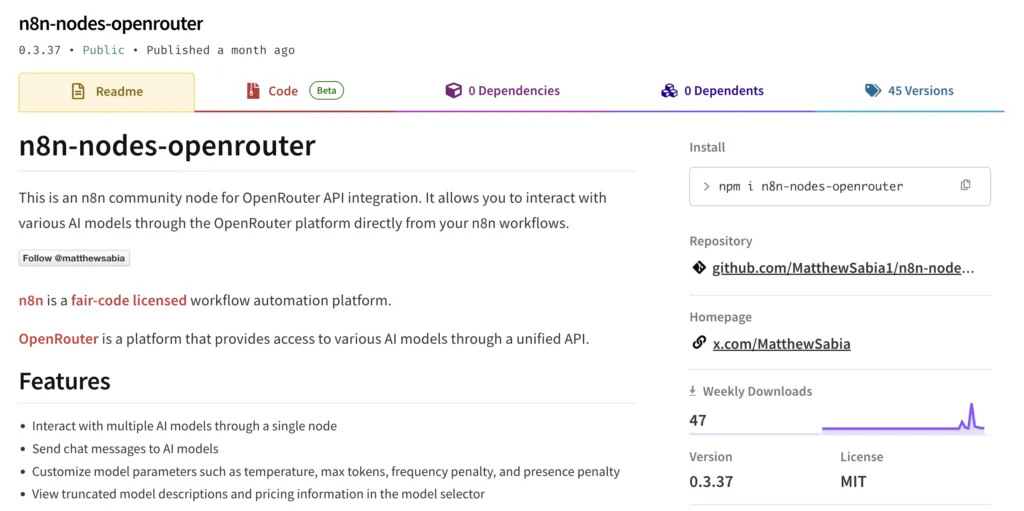
n8n-nodes-openrouterin the “Enter npm package name” field -
Agree to the risks of using community nodes (if prompted)
-
Click “Install”
But if you prefer the advanced way then here you go:
Open your terminal and run:
npm install n8n-nodes-openrouterAdd these environment variables to your n8n setup:
N8N_CUSTOM_EXTENSIONS=true
OPENROUTER_API_KEY=your_api_key_here
Restart n8n to load the new node. The node will appear in your workflow palette under “Openrouter.”
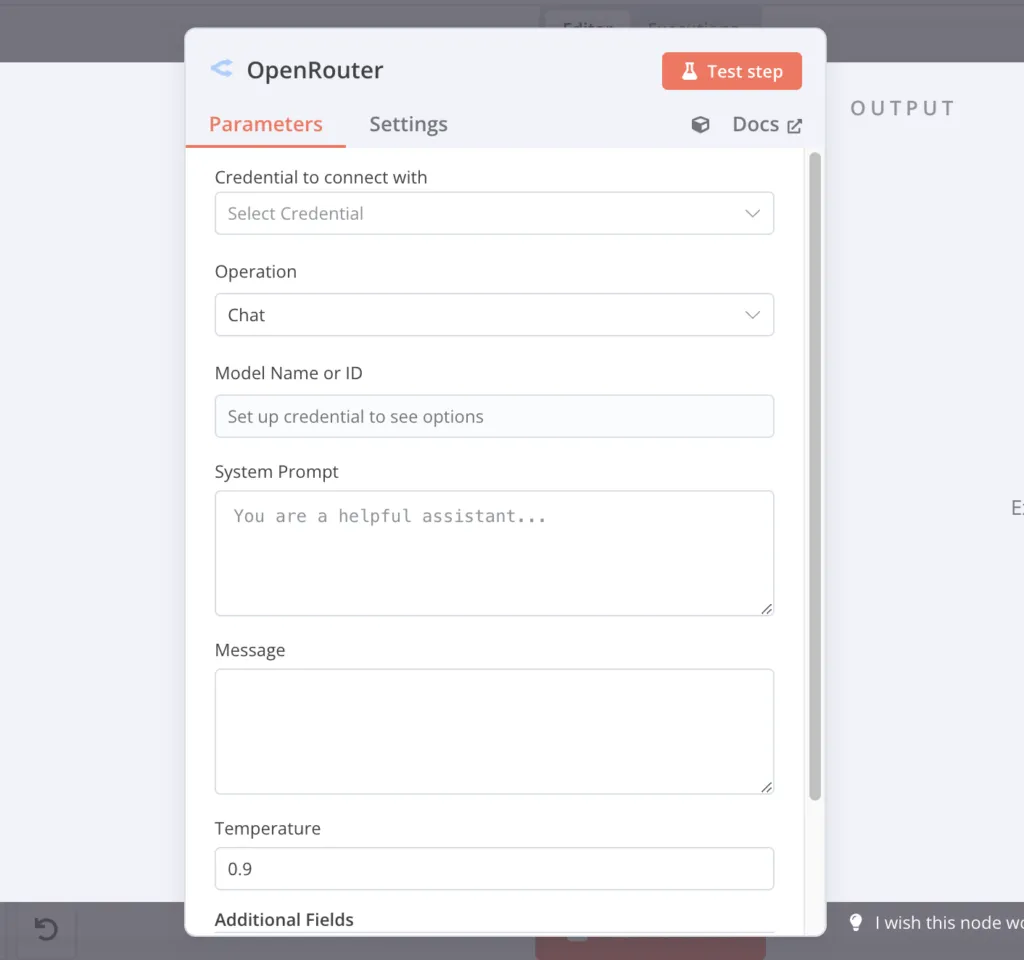
Configuration Steps
Click the new Openrouter node in your workflow. You’ll see three main settings:
-
Model selection
-
Temperature control
-
Max tokens
Start with GPT-3.5-turbo for testing. Set temperature to 0.7 and max tokens to 500. These settings work well for most use cases.
Use Cases and Examples
Here’s a simple workflow I use daily:
-
HTTP Trigger node receives incoming text
-
Openrouter node processes it with AI
-
Send node delivers the response
This setup handles everything from content creation to code review. My favorite part? It costs 90% less than direct API access.
Troubleshooting
-
Open your terminal
-
Navigate to your n8n installation folder
-
Run:
npm install n8n-nodes-openrouter -
Restart your n8n instance
I recently helped three teams with this setup. The most common mistake? Forgetting to restart n8n after installation.
Configuration Steps
Got your API key ready? Here’s what to do:
-
Go to n8n settings
-
Click on ‘Community Nodes’
-
Find Openrouter in the list
-
Enter your API key
-
Hit ‘Save’
Pro tip: Store your API key as an environment variable for better security.
I can’t wait to go back to alot of my workflows and replacing the http requests with this community node!