🔥 Automating image generation using n8n and templated.io can save content creators up to 10 hours weekly on image creation tasks.
🔥 To automate image generation, you’ll need a free n8n account, a templated.io account, your API keys from both platforms, and 15 minutes of setup time.
🔥 By setting up templates, testing and troubleshooting, and scaling your workflow, you can create professional images in seconds and level up your content creation process.
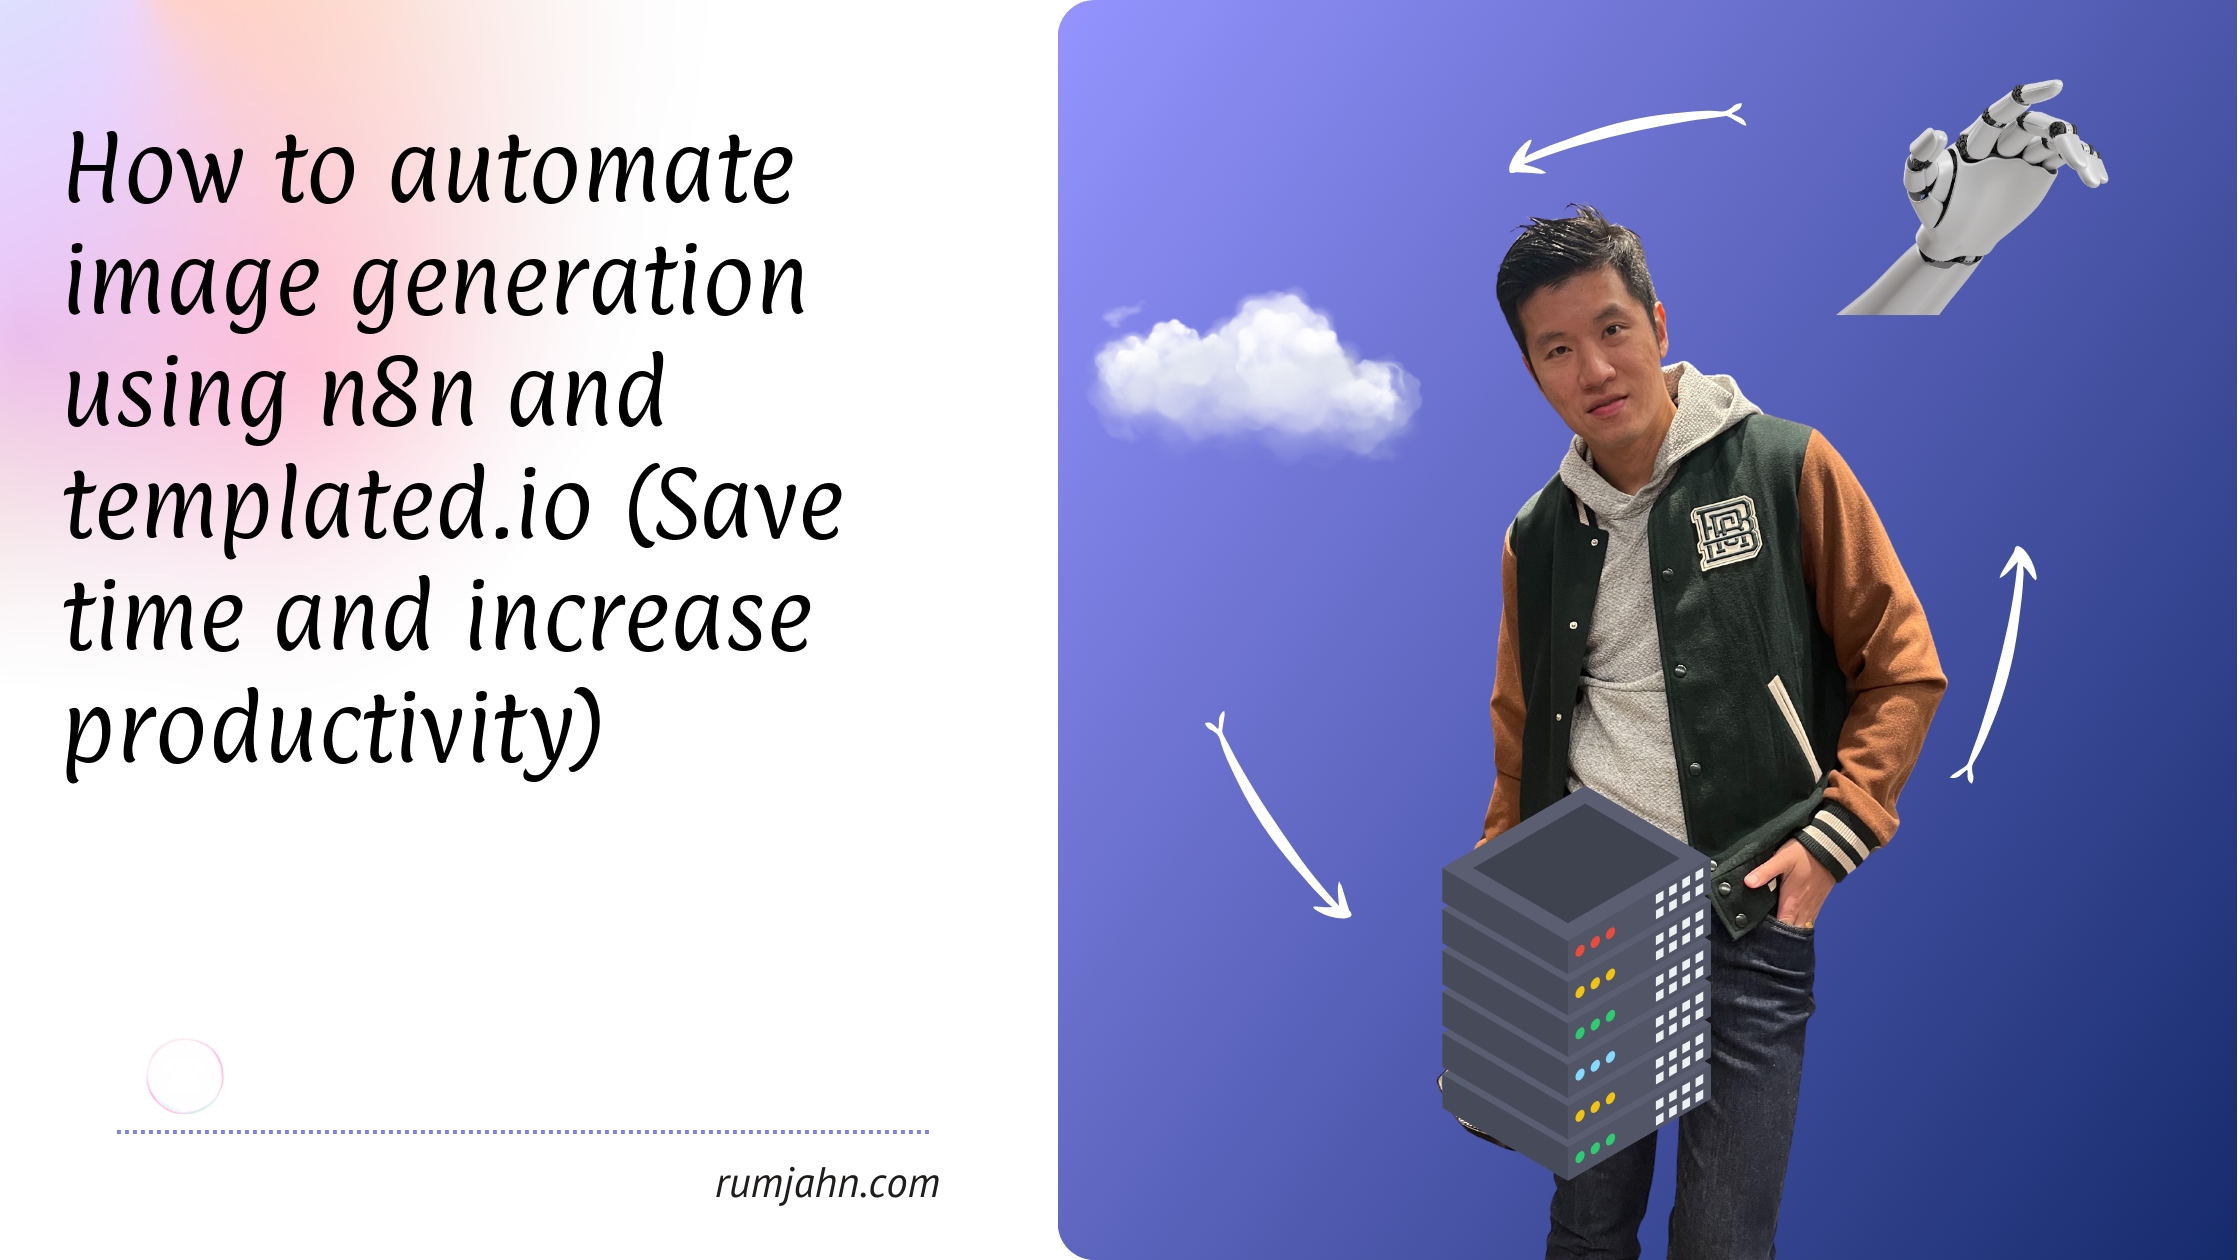
I auto generate all my blog images like this
Want to copy my workflow? Get my n8n workflow, baserow table and community node with 1 click.
https://www.youtube.com/watch?v=gKeTsCWI7Rw
[Download n8n workflow, table and community node](http://Subscribe Now!)
Why Automating Image Generation Matters
Creating social media images manually is a huge time sink. I used to spend 3-4 hours every week making images for different platforms. Each platform needs different sizes, text layouts, and branding elements. It’s repetitive and boring work.
Here’s the reality: Content creators waste up to 10 hours weekly on image creation tasks. That’s time you could spend growing your business or creating better content.
The good news? You can automate this entire process using n8n and templated.io. This combo lets you create professional images in seconds, not hours. Think of it as your personal design assistant that works 24/7.
What You’ll Need
Before we dive in, grab these essentials:
-
n8n account
-
A templated.io account
-
Your API keys from both platforms
-
15 minutes of setup time
The setup is simple. Think of it like connecting LEGO blocks - each piece has its spot, and they snap together easily.
Setting Up Your Templates
First, head to templated.io and create your base templates. Start with these basics:
-
Instagram post (1080x1080)
-
Twitter post (1200x675)
-
LinkedIn post (1200x627)
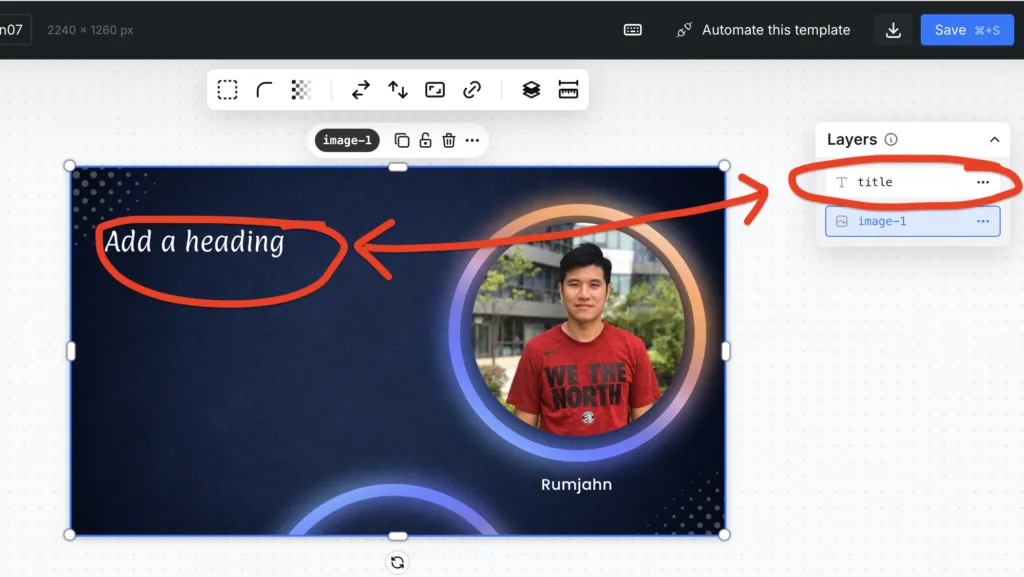
Pro tip: Make templates that are easy to modify. Use text variables like {{title}} and {{description}} - they’ll make your automation smoother.
You need to create a TEXT layer. In my example, I just want to change the text. So I create a “title” layer that is at the top. We will call the “title” later in our API calls and change that.
Keep your templates simple at first. You can always add more complex designs later.
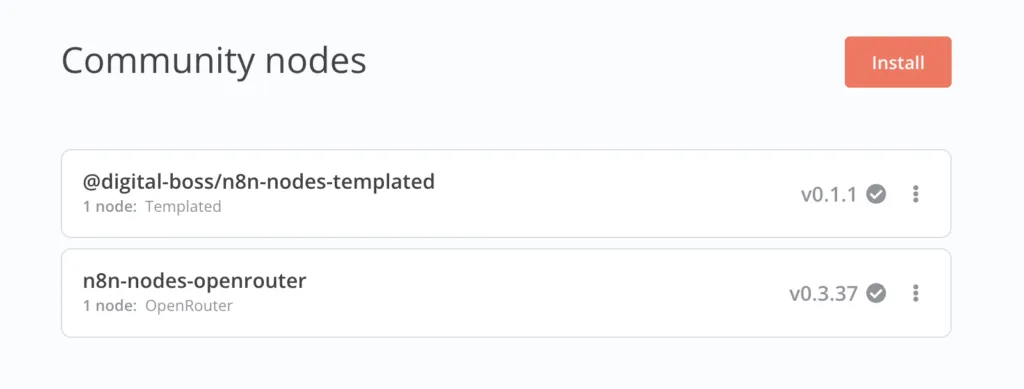
Install Templated Community Node
Community nodes are unofficial nodes that aren’t formally approved yet by n8n. Some nodes are unsafe but I got this node directly from the templated team and it works.
Setting up your n8n workflow
Want to copy my workflow? Get my n8n workflow, baserow table and community node with 1 click.
[Download n8n workflow, table and community node](http://Subscribe Now!)
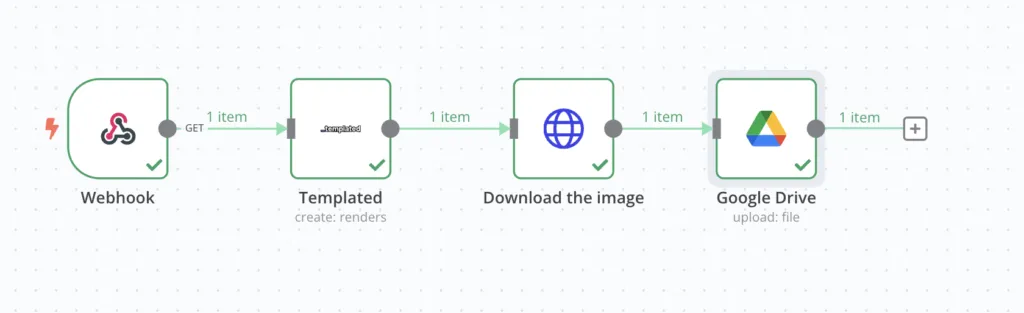
The workflow has 4 steps:
-
It waits for a webhook trigger to pass along the template ID and the text you want on the image. I’ve prepare a baserow table for you to download and use. You can use airtable too.
-
Send the text and template ID to templated.io to render
-
Download the rendered output
-
Upload to Google drive
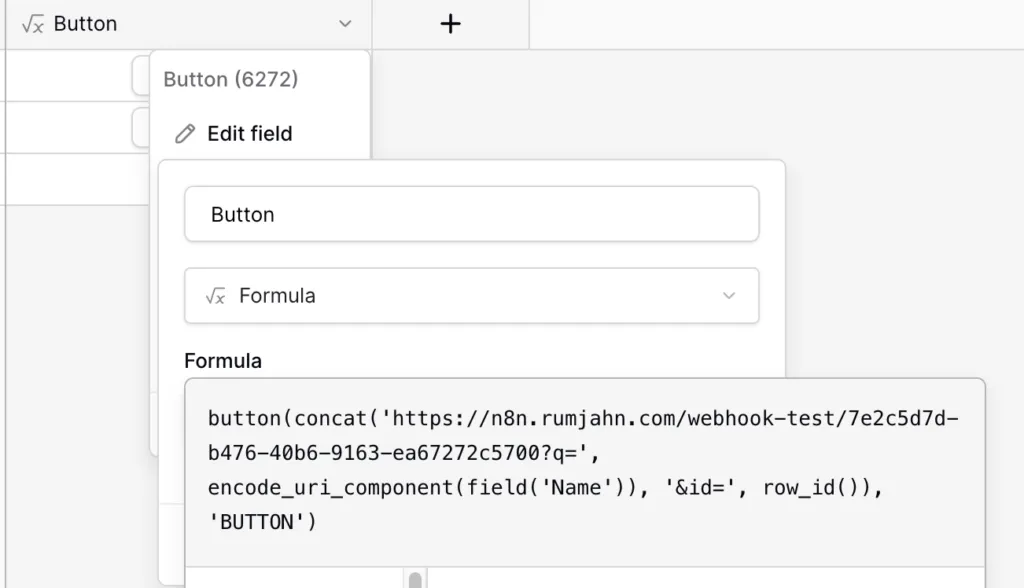
Baserow formula
In order for Templated.io to know which template to use and what text you want to change, you need to send it the data through the API.
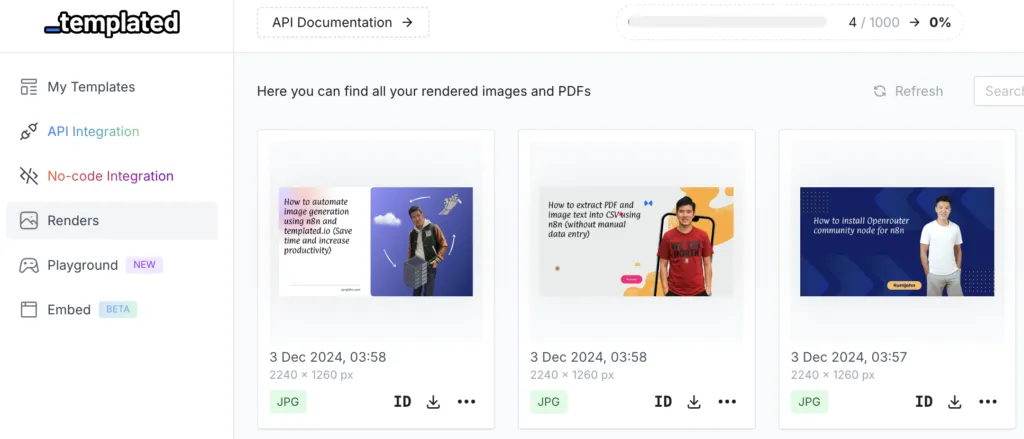
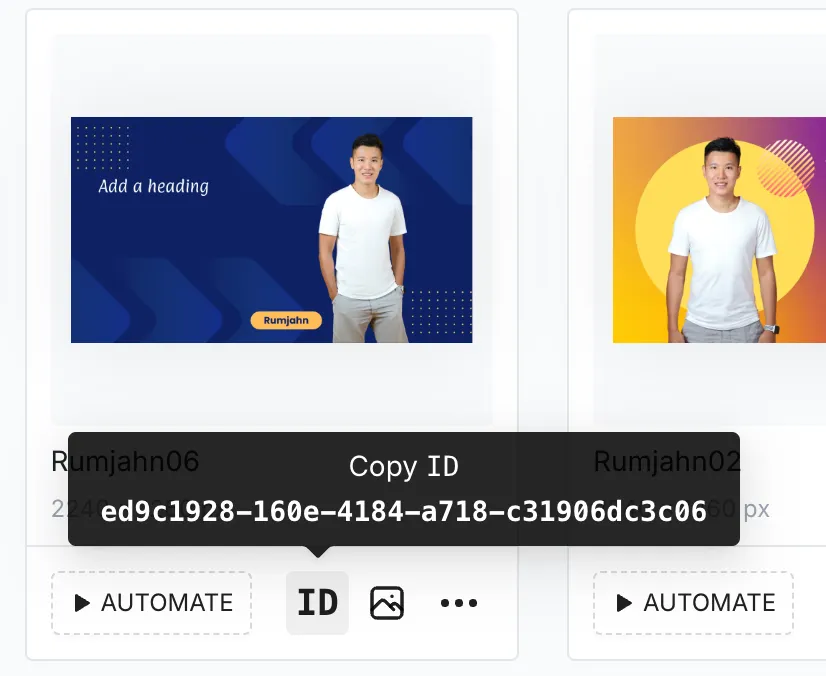
First, you need the template ID of your template. You can get the ID by clicking on the ID button.
Next you need to modify the webhook. Go to the n8n template and get the webhook ID.
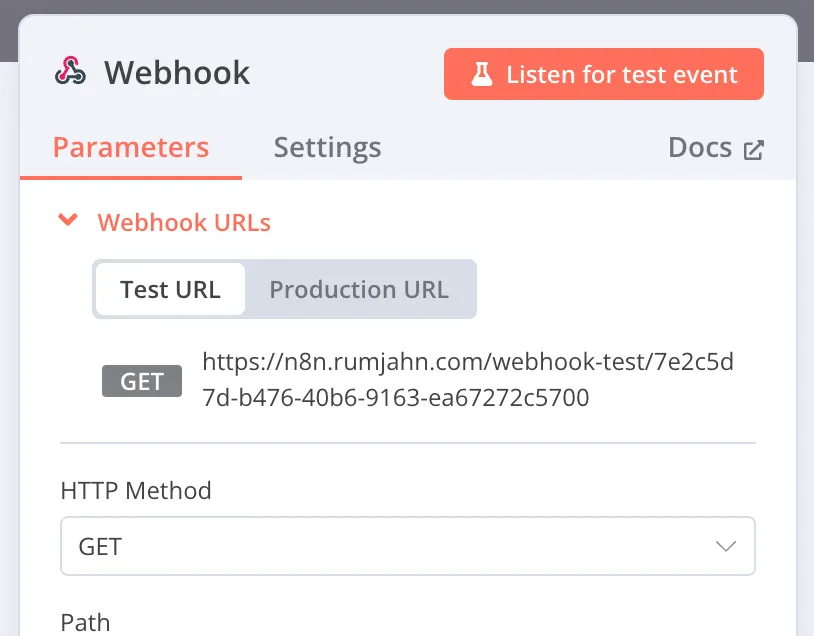
Copy the Test URL and then go to your baserow and change the formula. Copy and paste the test URL into the formula and replace it from ‘https://…’ before the ? mark.
Putting It All Together
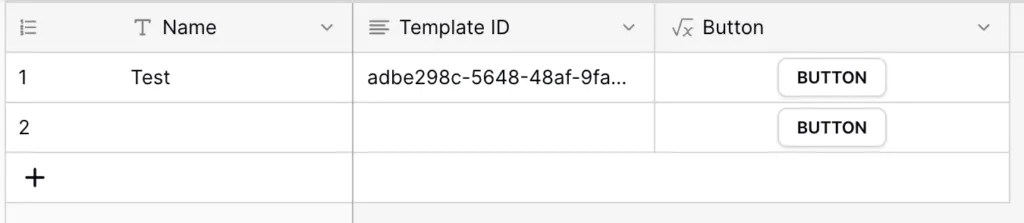
You need to press Test Workflow to activate the n8n workflow. Then go to your baserow and press the BUTTON.
Your first automated image should appear in seconds.
Tips for Scaling
Ready to level up?
-
Create template collections
-
Set up batch processing
-
Monitor API usage
-
Update templates monthly
Small improvements add up to big time savings.
Bonus: Advanced Customization
Power user features:
-
Custom JavaScript functions
-
Conditional template selection
-
Error notification system
Start simple, then add these features as needed.